How do you make paper placemats?
Paper placemats are a versatile and cost-effective addition to any table setting. Whether it’s for everyday use or a special occasion, making your paper placemats can be a fun and easy project. With just a few simple materials and some creativity, you can create unique and personalized designs that will impress your guests.
In this guide, we will walk you through the step-by-step process of how to make paper placemats.
From choosing the right paper to selecting the perfect design, you’ll be a pro in no time! So, grab your supplies and let’s get started!
Paper Placemats Making Process
What material do you need to make paper placemats?
To make paper placemats, you’ll need the following materials:
- Cardstock or heavy-weight Paper: A sturdy, durable type of paper that will form the base of your placemat.
- Ruler or measuring tape: This will help you cut the paper to the right size.
- Scissors: For cutting the paper to the desired size and shape.
- Art supplies: Pencils, markers, paints or any other medium you wish to use to create your design.
- Printer: If you choose to create or print your design digitally, a printer will be necessary.
- Adhesive: Glue or tape to assemble your placemat if needed.
- Sealant or waterproofing spray: This helps protect your placemat from spills and other messes, extending its lifespan.
These are the basic materials you’ll need to create your DIY paper placemats. Depending on the complexity of your design, you might also need other crafting supplies. Ensure you have everything prepared before you start.
Step by step instructions to make paper placemats
Step 1: Gathering materials and workspace setup
First, gather all the materials mentioned above and prepare a clean and adequate workspace. This could be a large table or any flat surface that can comfortably accommodate your crafting supplies and paper.
Step 2: Measuring and cutting the paper
Measure the size of your placemat using a ruler or measuring tape. A standard placemat size is 12″ x 18″ but you can adjust this to suit your needs. Mark your measurements on the cardstock or heavy-weight paper, then use scissors to cut it out.
Step 3: Adding designs or decorations
Once you have your paper cut out, it’s time to add your designs. You could sketch your design first using a pencil, then go over it with markers, paints or any other medium you prefer. If you’re planning to print a digital design, make sure it fits the size of your placemat before printing.
Step 4: Laminating or sealing the paper placemats (optional)
After your design is complete and dry, you may choose to laminate or seal your placemat to make it waterproof and extend its lifespan. Use a sealant or waterproofing spray and apply it evenly over the surface of your placemat.
Step 5: Finishing touches
Allow your placemat to dry fully before using it. If you notice any rough edges, smooth them down with a bit of sandpaper. Now your DIY paper placemat is ready to use!
Tips and variations to make paper placemats?
- Use paints, markers or other mediums to create unique designs and patterns.
- Add stickers, glitter or rhinestones to your placemats for extra pizzazz
- Print a favorite family photo on cardstock paper and use it as your placemat
- Use craft punches to add fun shapes and borders
- Create a collage of paper scraps and turn it into a beautiful placemat
- Try using origami paper to make intricate patterns
- Decorate your placemats with 3D stickers or fabric patches for added dimension
- Layer different colors, textures and materials for a multi-dimensional effect.
- For an extra special touch, personalize your placemats with handwritten messages or the names of your guests.
- Go wild and create a “one of a kind” design that everyone will remember!
What are some ideas for decorating paper placemats?
Paper placemats offer endless possibilities when it comes to decoration, allowing you to flex your creativity and create something truly unique and personal. Try these ideas:
- Collage Art: Collect various images, quotes and textures from magazines and newspapers and create a collage of your favorite things.
- Fingerprint Art: For a fun, child-friendly idea, dip your fingers in paint and create colorful fingerprints all over the placemats.
- Handwritten Recipes: For a kitchen setting, try writing down your favorite recipes in attractive calligraphy.
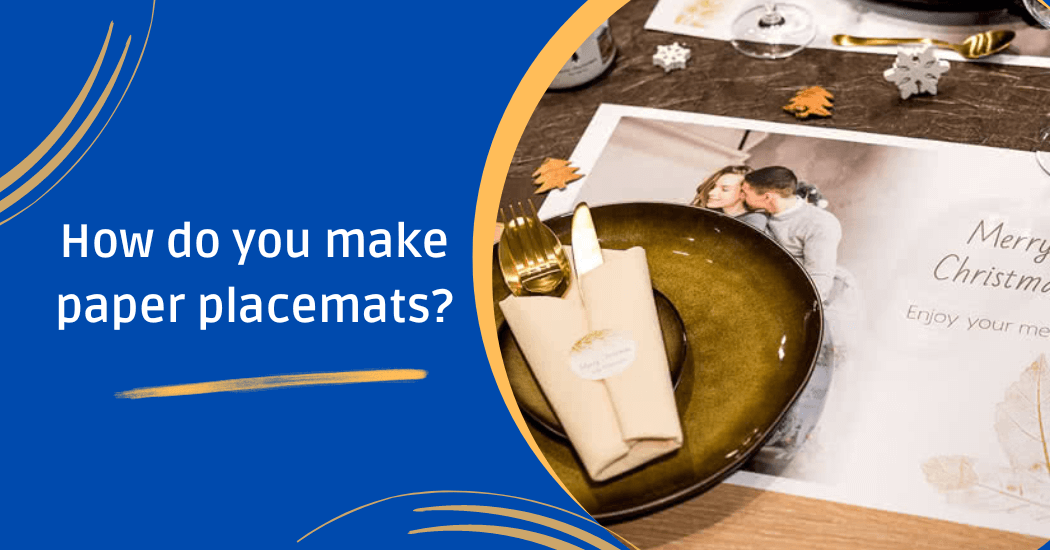
- Seasonal Themes: Decorate your placemats according to the season or upcoming holiday. For instance, create eerie designs for Halloween or warm, cozy prints for Christmas.
- Abstract Patterns: Let your creativity flow and decorate your placemats with freehand patterns like swirls, lines, squiggles and more.
- Washi Tape Designs: Create intricate designs using washi tape. You can stick them in patterns, create borders or even write words with them!
Remember, the sky’s the limit when it comes to decorating paper placemats. Be bold, try new things and have fun with it!
Final results
Creating printed paper placemats is a fun, creative and cost-effective way to add a personal touch to your dining experience. The process allows you to explore various themes and techniques, from collage art and fingerprint art to handwritten recipes and abstract patterns. With the added versatility of being usable as wall art or decorations around the house.
These placemats offer endless possibilities for personal expression and decoration. Whether for personal use or as thoughtful handmade gifts for friends and family, these bespoke creations will surely add a unique and personal touch to any setting.